
Material character
Explore how siding, render, masonry, timber, glazing, and roofing might relate visually.
Sketch to render
Use a clear architectural sketch to explore how materials, color, landscape, and atmosphere might feel before the design is fully developed.


Start with one photo of your real space
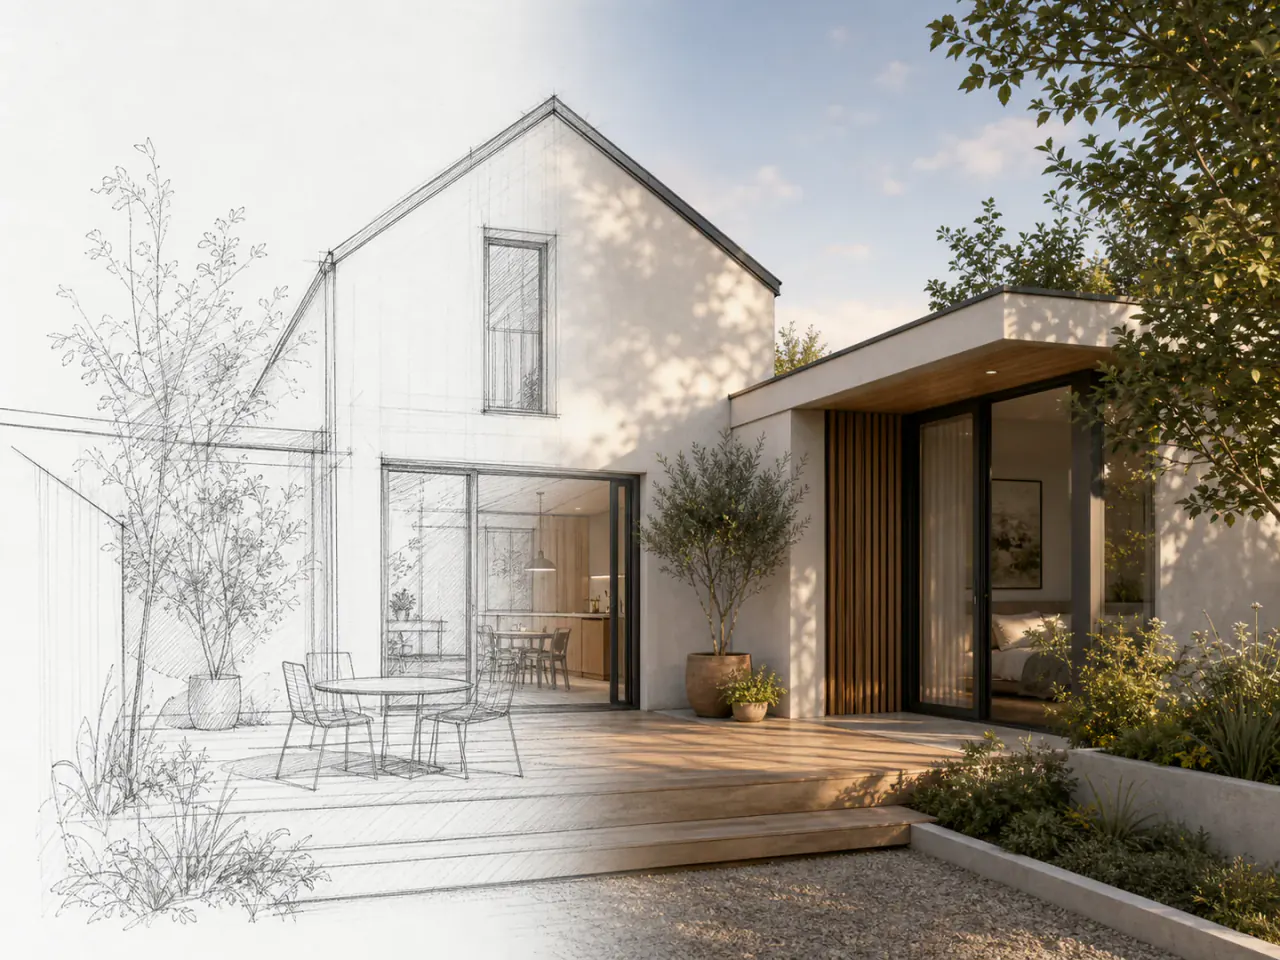
Sketch-to-render visualization converts a line drawing or architectural sketch into a more realistic concept image that is easier to review and discuss.
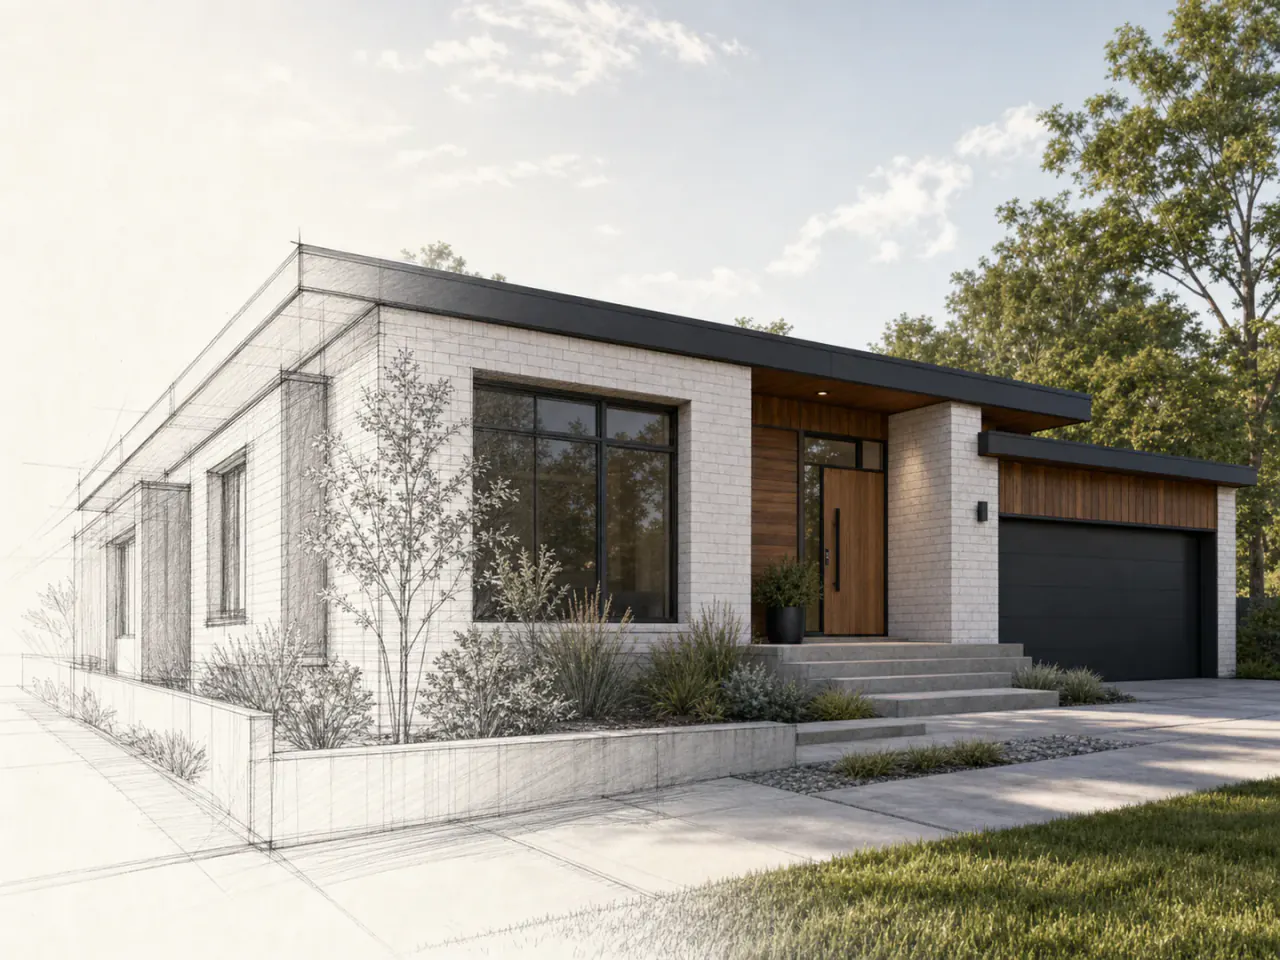
Make the drawing easier to imagine
A realistic concept can make proportions, materials, color, planting, and atmosphere easier to discuss while the underlying design remains a sketch.
What you can explore
Explore how siding, render, masonry, timber, glazing, and roofing might relate visually.
Test broad color families and contrast without treating the image as an exact specification.
Add a visual relationship between the proposed exterior and its surrounding site.
Use the concept to discuss intent with collaborators before more detailed development.
Visual decisions in context
Each example should help narrow a real renovation question—not simply add another inspiration image.
The drawing provides the design logic. The render should help explain it—not quietly replace dimensions or architectural decisions.
A concept can make a sketch feel more tangible through light, surface character, planting, and a coherent exterior palette.
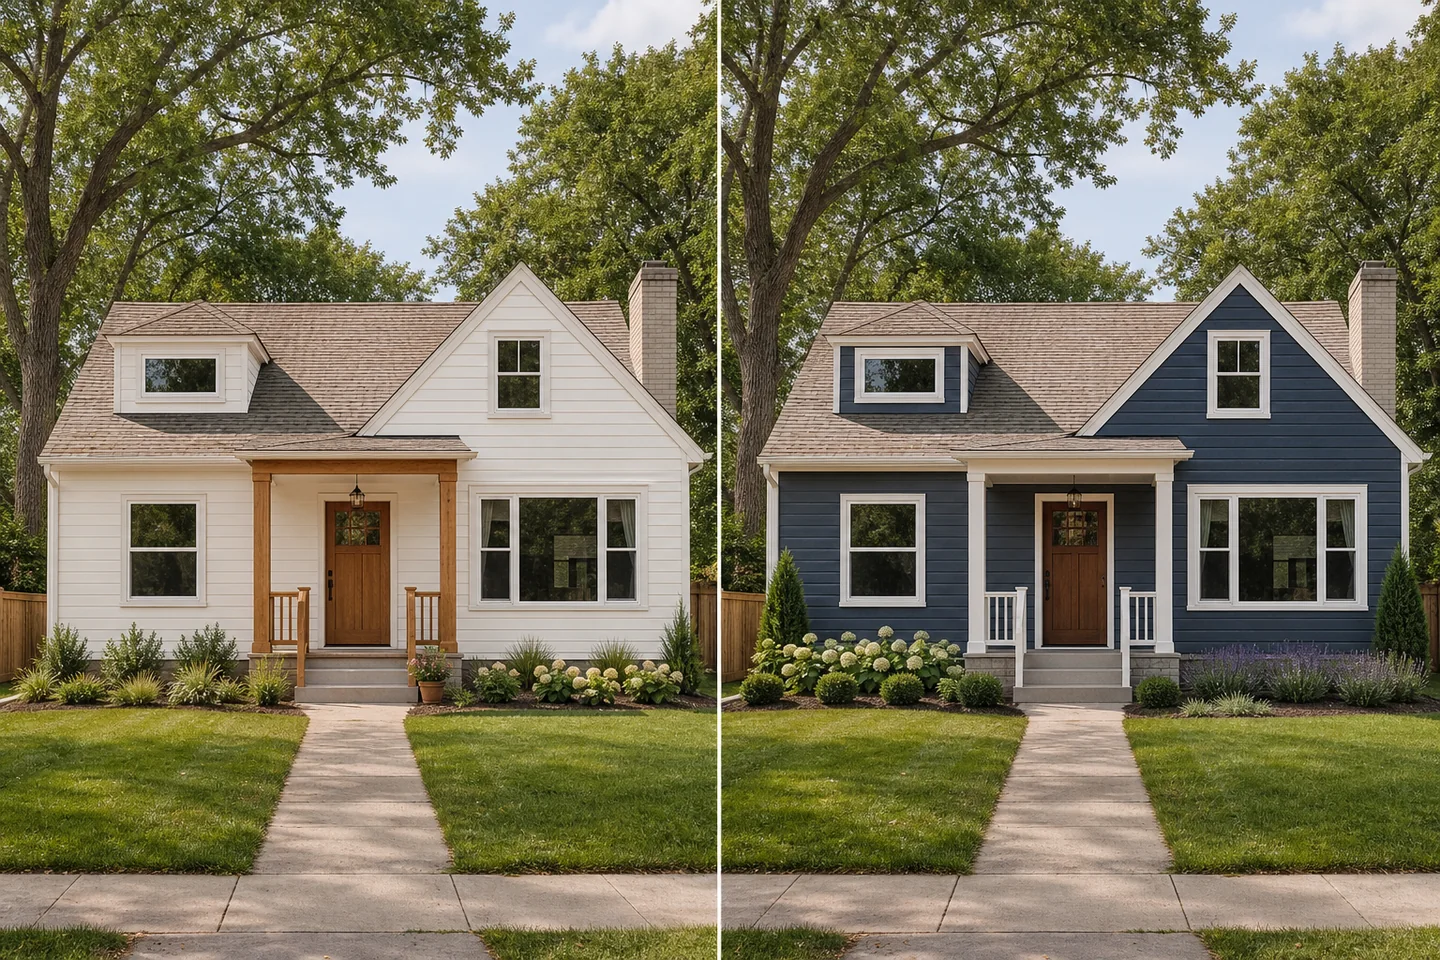
Use the visual to identify unclear proportions, relationships, or material decisions that need proper design development.
How it works
Show the full area you want to explore, with the home and important surroundings in view.
Start with one renovation question so the visual is easier to compare and refine.
Save promising ideas, test alternatives, and use the result to clarify the real project brief.
A rendering input matters
AI visualization can add plausible detail that was never specified in the sketch.
Avoid cropped geometry, heavy notes, low contrast, and unrelated marks where possible.
Describe the broad material, color, landscape, and atmosphere direction you want to test.
Review windows, doors, rooflines, structure, dimensions, and site elements against the actual design.
The sketch, drawings, specifications, and qualified professional decisions—not the AI render—define the project.
Use the result responsibly
The generated image may invent or alter details. Use it for exploration and communication while keeping drawings and professional design work authoritative.
Continue exploring
Frequently asked questions
Your home, with more possibilities
Upload a photo, compare a new direction, and decide what is worth exploring further.